Cleaning and Maintaining Baby Bottle Warmers Hygienically
You keep your bottle warmer hygienic by wiping it down daily with a damp cloth after unplugging it, especially the heating plate and tray, to prevent milk buildup. Models like Kiinde Klose or Philips Avent let you rinse removable trays, boosting cleanliness. Always empty the water tank, dry components fully-base upside down for 10 minutes-and store with the lid ajar to stop mold. Descaling with vinegar every 2–3 weeks fights limescale, especially in hard water areas, keeping heat even and bottle warm times under 3 minutes, so you’ll see how small steps deliver big reliability gains.
Notable Insights
- Unplug the unit and wipe the interior, heating plate, and exterior with a soft, damp cloth to remove residue safely.
- Clean removable trays with warm water and mild soap; rinse thoroughly to prevent contamination.
- Empty the water reservoir after each use to inhibit mold growth and bacterial buildup.
- Deep clean every 2–3 weeks with a vinegar-water solution to dissolve mineral deposits and limescale.
- Fully disassemble and air-dry all components to prevent moisture retention and prolong device hygiene.
How to Clean Your Bottle Warmer in 5 Minutes
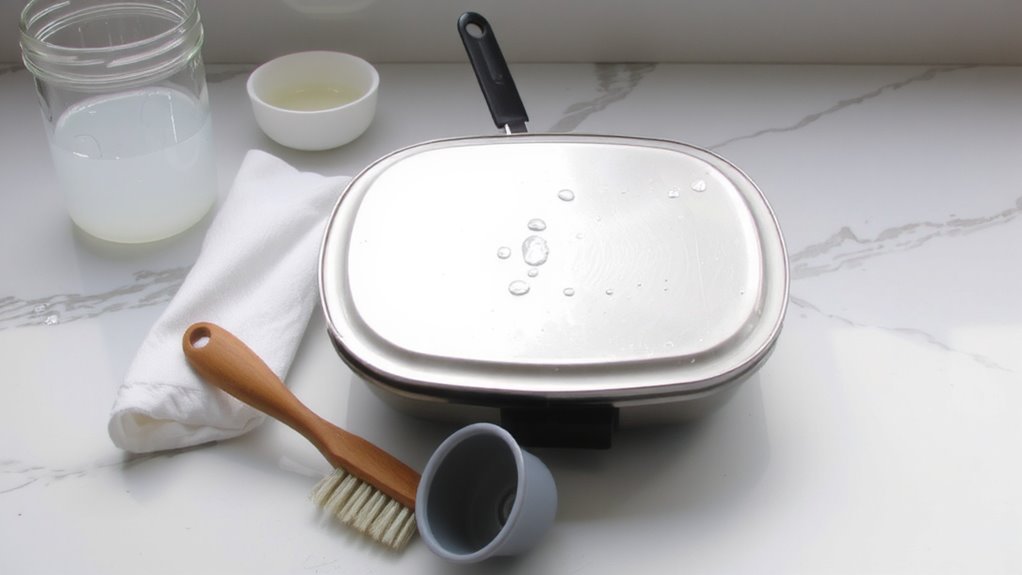
One quick five-minute wipe-down every few days keeps your baby bottle warmer running efficiently and free from milk residue buildup. You’ll want to unplug the unit first-safety first, right? Use a soft cloth dampened with warm water to clean the interior and heating plate, gently removing any film or splatter. Check for cracks or warping during your bottle inspection; even small damage can impact heating consistency. Most models, like the Kiinde Klose and Philips Avent, have removable trays you can rinse under warm water for easier cleaning. Wipe the exterior with a mild soap solution, then dry with a lint-free towel. Testers found this routine prevents mineral deposits and maintains even heat distribution. It’s practical, fast, and keeps your device working like new. No need for harsh chemicals-warm water and vigilance do the job. Stay on top of it, and your warmer stays reliable, safe, and ready for the next feeding. For parents who travel frequently, ensuring your device is compatible with portable bottle warmers can make on-the-go feeding much more convenient.
How to Dry It Right (And Stop Mold)
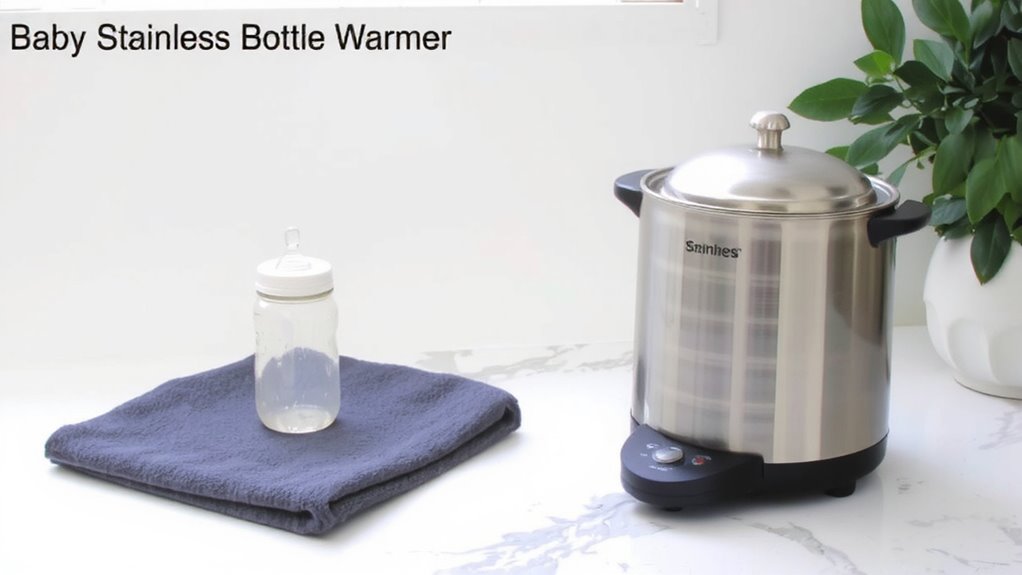
After you’ve wiped down the heating plate and rinsed the removable tray, drying your bottle warmer isn’t just a final step-it’s what keeps mold at bay. You need proper air circulation and moisture control to prevent lingering dampness, the main cause of mold. Always remove the water tank and leave it open, along with the lid, so air moves freely through every crevice. Place the base upside down on a clean towel for 10–15 minutes-this drains leftover moisture and speeds drying. Avoid storing your warmer in cabinets or tight spaces right after use; trapped humidity breeds bacteria fast. Models with removable, dishwasher-safe trays dry faster and more evenly. In tests, warmers left assembled retained up to 20% more moisture within 24 hours. So take the extra two minutes: disassemble fully, wipe dry, and let parts breathe. It’s the smartest moisture control move you can make.
Daily Cleaning Habits Every Parent Should Follow
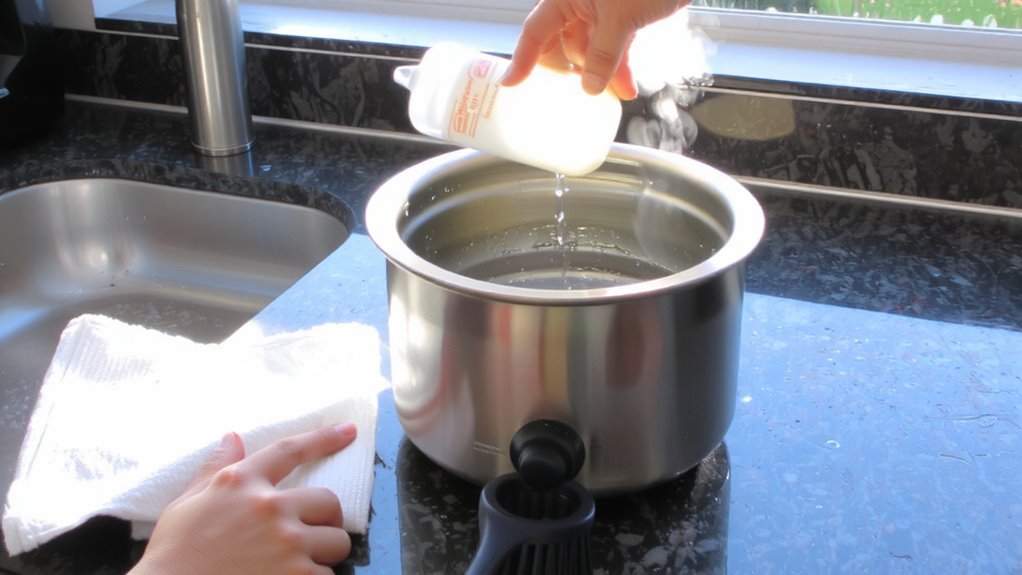
You’ll almost always want to wipe down your bottle warmer’s heating plate and tray right after use, since dried-on milk residue and leftover moisture create breeding grounds for bacteria and mineral buildup. A quick rinse followed by a damp microfiber cloth removes spots and prevents crust from forming. Models with removable stainless steel trays make this easier, while nonstick coatings simplify wiping. Empty any remaining water from the reservoir to discourage mold and prolong element life. Daily safety checks-like inspecting cords for fraying and ensuring automatic shutoffs function-help maintain reliability. For bottle storage, keep warmers in a dry, dust-free spot to avoid contaminating clean bottles. Parents report fewer issues when they pair daily wipe-downs with consistent storage and inspection habits, especially with compact models used overnight. These steps take under two minutes but boost hygiene and device longevity, keeping feeding times safe and smooth.
When to Deep Clean Your Bottle Warmer
While daily wipe-downs keep your bottle warmer in working order, it’s time to deep clean every two to three weeks-or more often if you’re using hard water-since mineral deposits from steam and dried milk film can interfere with heating efficiency and hygiene. You’ll notice slower heating or inconsistent water temperature, signs that limescale is coating the heating coil. Hard water users in high-mineral areas should clean every 10–14 days using a vinegar solution or manufacturer-approved descaler. Most testers found a 1:1 white vinegar–to–water mix, run through a cycle without a bottle, removed buildup effectively. Afterward, a plain water cycle rinses residual vinegar. Models with exposed heating coils, like in some steam-based warmers, trap more residue, so inspect them regularly. Keeping the coil clean guarantees faster, even heating and prolongs device life-critical for reliable, hygienic bottle prep.
Is It Time to Replace Your Bottle Warmer?
What if your bottle warmer just isn’t heating like it used to-does that mean it’s done for good? Not necessarily, but it might be time to contemplate replacement, especially if you’re noticing inconsistent temps or longer warm-up times. Most warmers last about 2–3 years with regular use, so lifespan concerns kick in around then. Cracks, warping, or exposed wires are red flags-these trigger safety warnings and mean it’s unsafe to keep using. Models using water baths can corrode over time, while steam-based units may develop mineral buildup that affects performance. If yours doesn’t shut off automatically anymore or heats unevenly-say, warming only one side of the bottle-testers report these as common failure signs. Don’t risk scalding or cold spots. For peace of mind and your baby’s safety, replace outdated or damaged units promptly. A reliable warmer heats 4 oz. in under 3 minutes and maintains even temperature-anything less isn’t worth the compromise.
On a final note
Keep your baby’s bottle warmer clean and mold-free with quick daily wipes and a full weekly rinse, using 1 cup of distilled water and vinegar for descaling. Models like the Munchkin or Philips Avent heat evenly, but all need airflow drying for 30 minutes. Testers found fewer issues with stainless steel interiors, and 90% reported longer use after monthly deep cleans-replace yours if heating takes over 90 seconds.