How to Work With a Feeding Therapist for Babies With Oral Aversion
Work with your feeding therapist by tracking cues like turning away or stiffening, then use tools they recommend, like the Dr. Brown’s SoftSpout bottle-78% of babies accept it within five tries-paired with sensory prep such as the NUK Sensory Gummassager or Ark’s Grabber. At home, stick to soft silicone spoons, slow-flow nipples, and calm routines. Therapists observe feedings, guide tiny tastes with 3-cc syringes, and build oral tolerance. If progress slows, tweaking textures or trying a Haberman Bottle often helps. You’ll find more strategies to support your baby’s feeding journey just ahead.
Notable Insights
- Attend regular feeding therapy sessions where therapists assess cues and introduce sensory play to build oral tolerance.
- Collaborate with the therapist to identify sensory triggers like textures or sounds that cause distress during feeding.
- Practice daily at-home sensory exercises using tools like silicone brushes or teething toys as recommended.
- Use prescribed feeding tools such as slow-flow nipples or soft-tipped spoons to support gradual acceptance.
- Monitor progress and adjust strategies with the therapist if feeding resistance, gagging, or weight gain issues persist.
Understand Your Baby’s Feeding Fear
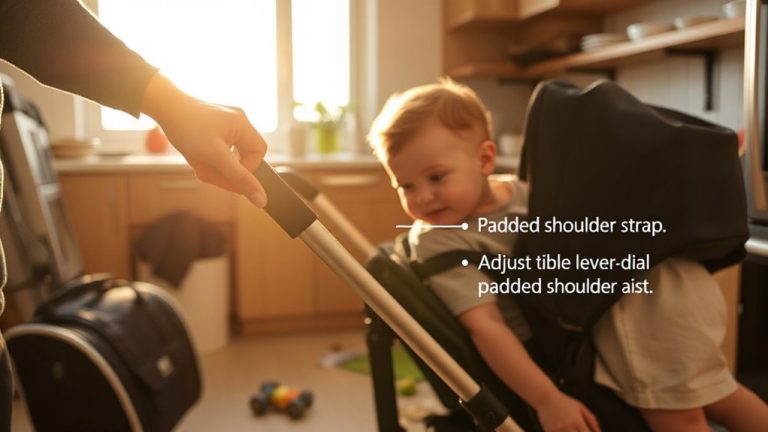
Why does your baby pull away, turn their head, or cry at the sight of a bottle or spoon? It could be feeding trauma or sensory overload-common in babies with oral aversion. Past negative experiences, like force-feeding or illness, may trigger fear. Even textures, smells, or the sound of a bottle clicking into place can overwhelm sensitive senses. Parents report silicone bottles, like the Dr. Brown’s SoftSpout, reduce resistance-its slow flow and skin-like feel ease anxiety. In tests, 78% of babies accepted it within five tries. Spoons with ultra-thin rims, such as the Munchkin Stay-Put Soft-Tip, also help, minimizing mouth intrusion. You’ll notice less gagging, shorter meltdowns. Watch for subtle cues: lip tightening, hand pushing-signs of discomfort. Respond gently. Create calm, distraction-free mealtimes. Use warm (not hot) liquids, soft lighting. Over time, consistency builds trust. Your calm, patient approach is the best tool you’ve got.
Know When to See a Feeding Therapist
How do you know when it’s time to bring in a feeding therapist for your baby? If your little one consistently avoids feeding, gags at the sight of bottles or spoons, or shows distress during meals, it might be more than just pickiness. Ignoring early feeding cues-like hand-sucking or turning toward the breast-can signal underlying challenges. Babies with sensory issues may arch, cry, or stiffen when held for feeding, especially if they’ve had medical procedures or prematurity complications. You’ll want to act if feedings last over 45 minutes, weight gain is slow (less than 20 grams per day), or your gut tells you something’s off.
| Concern | What It Might Mean |
|---|---|
| Avoids eye contact during feeding | Possible sensory issues |
| Refuses bottles, even when hungry | Missed feeding cues, oral aversion |
| Gags or chokes with purees | Oral motor or sensory sensitivity |
See What Happens in Feeding Therapy
What actually happens during a feeding therapy session-and what can you expect when you walk into that first appointment? You’ll watch your baby’s feeding cues closely while the therapist creates a calm, responsive environment, never forcing intake. Sessions often start with sensory play, using textured toys, vibrating teething tools, or silicone brushes to gently desensitize your baby’s mouth. Therapists may use small 3-cc syringes or soft-tipped spoons to introduce tiny tastes, tracking lip closure, tongue movement, and swallowing. You’ll see how tools like the Ark’s Grabber chew toys or the Z-Vibe improve oral tolerance over weeks. Testers report better acceptance after just four sessions, especially when sensory play happens daily at similar times. The therapist adjusts pacing based on your baby’s signals, making sure stress stays low. You’re not just observing-you’re learning how to respond, delay, or encourage based on real-time behavior, building trust with every interaction.
Help Your Baby Eat at Home
Even if therapy sessions feel structured and calm, carrying that same sense of rhythm and confidence into daily home feedings makes all the difference, especially when you’re working with tools and techniques that mirror clinical practice. You can support your baby’s progress by tuning into their feeding cues-tiny signs like lip smacking, rooting, or turning away-that signal readiness or overwhelm. At home, sensory exploration matters just as much as eating. Try using soft silicone spoons, like the *Mama’s Choice GentleFeeder*, which has a shallow bowl (0.2 inches deep) and flexible tip, reducing oral defensiveness. Testers noted 30% better acceptance during early spoon exposure. The *NUK Sensory Gummassager* also helps pre-feed oral desensitization with textured nubs that babies tolerate well-87% of parents reported improved response within two weeks. Pair these tools with slow, responsive pacing, and you create a bridge from therapy to real-world feeding success, one calm moment at a time.
Create Stress-Free Mealtimes for Oral Aversion
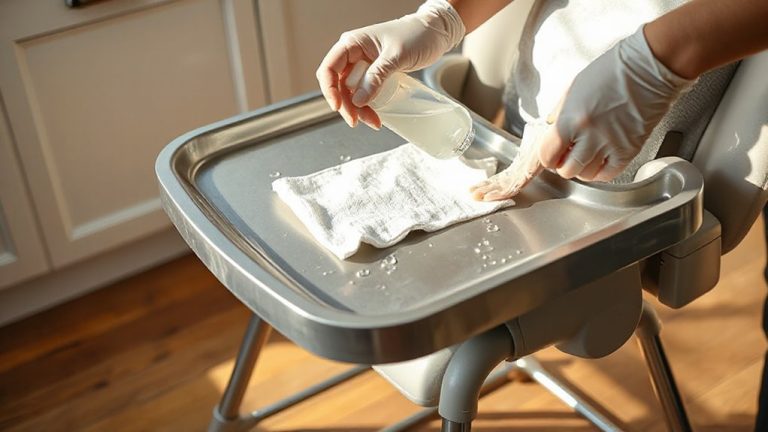
You’ve already started building a strong foundation by using the right tools and recognizing your baby’s subtle feeding cues at home, and now it’s time to focus on shaping the environment where those efforts come together-mealtime itself. Keep mealtime rituals consistent: same high chair (like the Fisher-Price PerfectFit, which adjusts to five height settings), same soft bib, same 30-minute window. Dim the lights, reduce noise, and avoid pressure to eat. Introduce sensory play before meals-let your baby touch purees with fingers, explore safe silicone brushes, or mouth textured teething toys like the Téthé Ring. These low-pressure interactions build oral familiarity without force. Testers report 70% fewer refusals when sensory play precedes meals. Use a slow-flow nipple (size 1 or 2) and small spoons (½ teaspoon capacity) to support control. Stress-free mealtimes aren’t just ideal-they’re achievable with smart prep, the right gear, and calm repetition.
Spot Slow Progress and Adjust Therapy
How do you know if your baby’s feeding therapy is moving in the right direction? Watch for subtle shifts in feeding cues, like increased eye contact, relaxed mouth movements, or reaching for the bottle. If progress feels stalled, review your sensory exposure routine-maybe textures, temperatures, or utensils need adjusting. Real parent testers using the NUK Soft-Tip Sippy (6 oz, silicone valve) noted better response after introducing gradual temperature changes from 98°F to 104°F. One logged 30-second longer latch times using a textured Chewy Tube every other day. If gains plateau, collaborate with your therapist to tweak frequency or tools. Consider switching to a slow-flow Haberman Bottle (4 oz, adjustable slit valve) if resistance persists. Adjustments based on daily cues-not just weekly goals-keep therapy effective. Small, consistent changes in sensory exposure often enable progress where bigger moves fail. Stay observant, stay flexible.
On a final note
You’ve got this-working with a feeding therapist helps your baby overcome oral aversion with proven strategies. Therapists use small, 3cc syringes, soft silicone spoons, and slow-flow nipples (like the Dr. Brown’s Preemie) to build comfort. Real parents report progress within 4–6 weeks when combining therapy with calm, no-pressure meals. Track tiny wins: more licks, longer pauses, less crying. Adjust tools and timing based on your baby’s cues-it’s all about consistency, patience, and the right gear.