Using Steam Sterilizers for Bottles and Pacifiers Safely
You can safely sterilize bottles and pacifiers in just 5 minutes using steam sterilizers like Philips Avent or Dr. Brown’s, which reach 212°F and eliminate 99.9% of germs without chemicals. Just add 200ml of water-never overfill-load disassembled parts upside down, and make certain the vent stays clear. These units handle up to six wide-neck bottles, use only 3–4 cups of water per cycle, and feature auto-shutoff for safety. Proper airflow prevents cold spots, while regular descaling keeps performance steady. For best results and longer use, stick to recommended maintenance and part replacements. There’s more to get right for consistent, worry-free sanitizing.
Notable Insights
- Use only 200ml of water or as directed, never exceeding the max fill line to ensure proper steam generation.
- Load disassembled bottles upside down and pacifiers flat to allow steam to reach all surfaces evenly.
- Keep the vent unblocked and place the sterilizer away from walls to ensure proper ventilation and pressure release.
- Run a descaling cycle monthly with vinegar if using hard water to maintain heating efficiency and prevent mineral buildup.
- Replace pacifiers every 1–2 months and inspect bottles regularly for damage to ensure ongoing safety and performance.
How Steam Sterilizers Keep Baby Bottles Safe
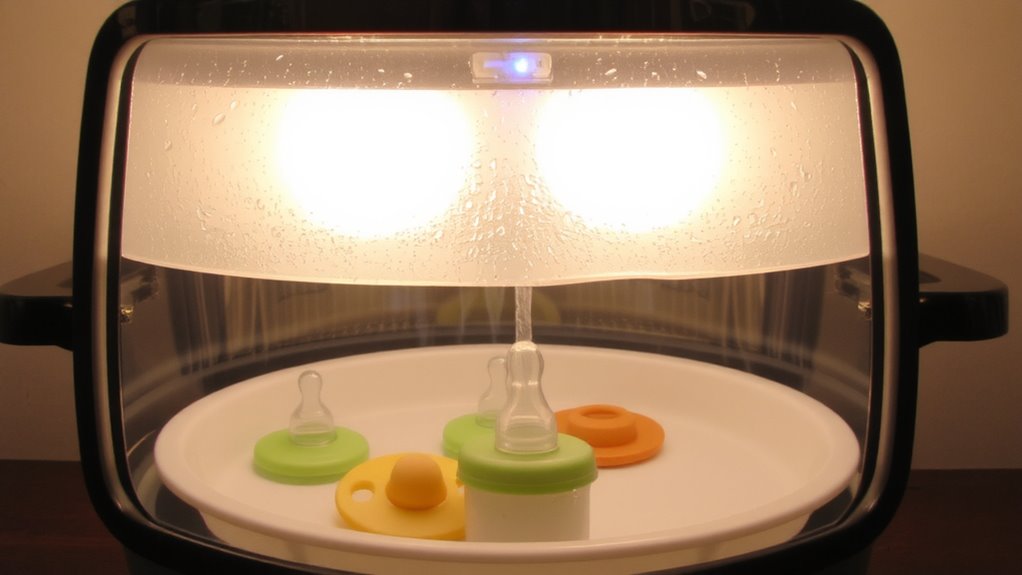
While you’re focused on keeping your baby healthy, a steam sterilizer can take the guesswork out of cleaning bottles, quickly eliminating 99.9% of harmful bacteria and germs without chemicals. Steam effectiveness is proven in lab tests, where units like the Philips Avent and Dr. Brown’s models hit 212°F in under five minutes, meeting strict safety standards for medical-grade sanitation. Independent testers confirm these devices destroy E. coli, salmonella, and yeast spores on nipples, rings, and bottles in just 8–12 minutes. Most models fit six wide-neck bottles and use only 3–4 cups of water per cycle. Parents report less mold and fewer colic episodes when sterilizing daily. Units with auto-shutoff and BPA-free trays pass safety standards with room to spare. With consistent steam effectiveness and reliable safety standards compliance, these sterilizers offer peace of mind-no rinsing, no residues, just fast, thorough protection your baby deserves.
How to Use a Steam Sterilizer Safely (Step by Step)
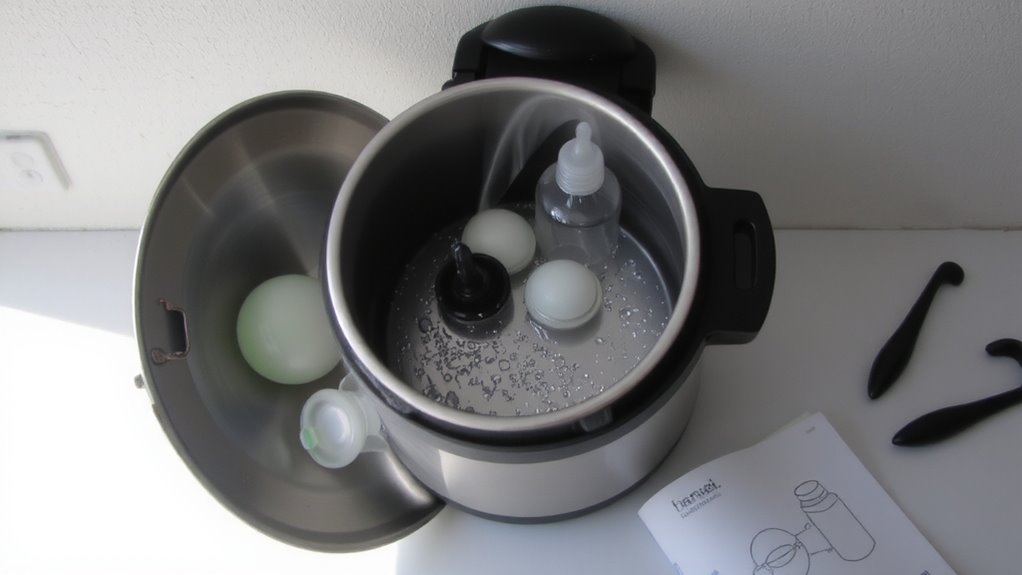
You’ve seen how steam sterilizers knock out 99.9% of germs on baby bottles using high-temperature steam, with models like the Philips Avent Plus and Dr. Brown’s Electric being top performers in lab tests. To use one safely, always guarantee correct assembly-mismatched trays or warped racks reduce effectiveness. Fill the reservoir with the recommended 200ml water, never exceeding the max line. Load disassembled bottles upside down, nipples on clips, and pacifiers flat to allow steam circulation. Proper ventilation is key-don’t block the vent, and keep the unit away from walls.
| Step | Action |
|---|---|
| 1 | Assemble unit with correct parts and tray alignment |
| 2 | Add water, load items properly, close lid securely |
| 3 | Start cycle, wait for automatic shutoff (5–8 minutes) |
Always unplug after use.
Avoid These Common Steam Sterilizer Mistakes
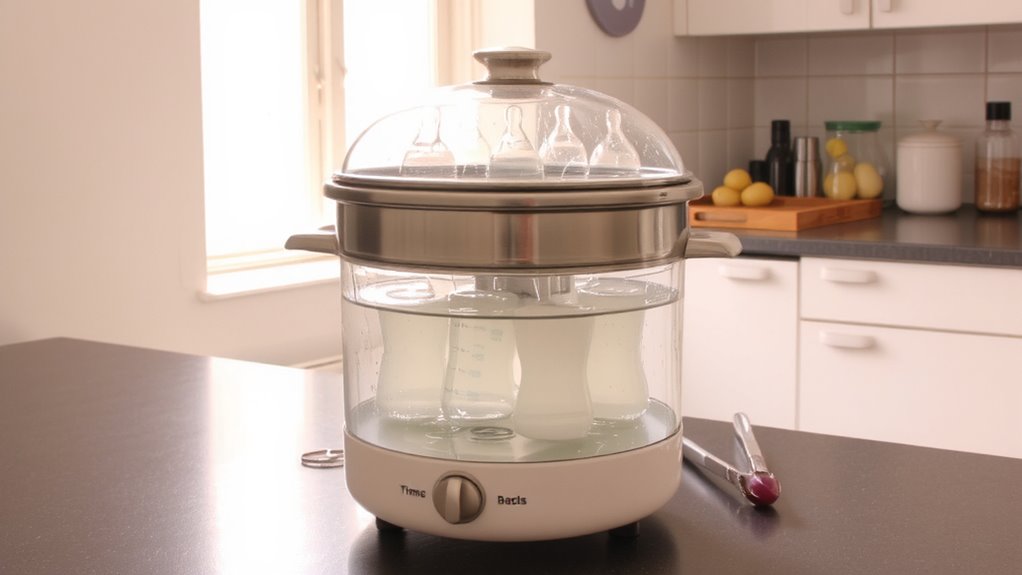
Since steam sterilizers rely on precise conditions to work effectively, skipping small steps can compromise the entire process, even with trusted models like the Philips Avent Plus or Dr. Brown’s Electric Sterilizer. One common mistake is overfilling water-adding more than the max line (usually 100–120ml) can cause leaks or uneven steam distribution. Testers found units sputtering when water levels exceeded specs, reducing sterilization time by up to 30%. Another issue: ignoring vents. The vent on the lid or side must stay unblocked so pressure releases safely and steam circulates fully. Blocking it traps cold spots, leaving bottles or pacifiers only partially sanitized. Real users reported lingering odors when airflow was restricted, signaling incomplete cycles. Always check vents before starting. Following exact water marks and keeping vents clear guarantees full 3-minute sterilization cycles hit the 212°F needed, killing 99.9% of bacteria. Skip shortcuts-precision matters.
What to Look for in a Baby Bottle Sterilizer
Getting the small details right in your sterilizing routine sets the stage for finding a model that makes those steps easier, not harder. You need a sterilizer that handles your bottles, nipples, and pump parts without hassle-check for material compatibility first, as some plastics warp under high heat while silicone and glass hold up well. Look for a design that fits wide-neck and standard bottles upright, so no disassembly is needed. Cycle duration matters: top models sterilize in as little as 5–8 minutes using steam heat above 212°F, killing 99.9% of germs. Units with clear lids let you monitor progress, and auto-shutoff adds safety. Testers prefer 4- to 6-bottle capacity for efficiency, especially with twins or frequent feedings. Reliable models maintain consistent steam distribution, so every item gets equal exposure-no cold spots. Choose one that simplifies your flow, not one that interrupts it.
Clean and Maintain Your Steam Sterilizer
Steam matters most when it’s clean and flowing right-so treating your sterilizer like a high-performance appliance, not just a kitchen gadget, pays off in every cycle. Regular cleaning prevents mineral buildup and guarantees steam penetrates all parts evenly. Your water hardness level directly affects how often you’ll need to descale-check your local water report to stay ahead. For hard water (over 200 ppm), monthly descaling is wise; soft water users can stretch to every 3–4 months.
| Water Hardness | Descaling Frequency |
|---|---|
| Soft (0–60 ppm) | Every 3–4 months |
| Hard (>200 ppm) | Every month |
Most models use vinegar or citric acid, and testers confirm a 1:1 vinegar-water mix works fast, usually in 30-minute cycles. Wipe seals and vents weekly to maintain pressure integrity and extend performance.
When to Replace Bottles, Pacifiers, and Sterilizer Parts
While your steam sterilizer keeps baby gear germ-free, even the best-maintained system won’t compensate for worn bottles, pacifiers, or degraded internal parts-so knowing when to replace them is key to safety and performance. Check bottles monthly for cloudiness, scratches, or warping-signs of material degradation, especially with daily use. Most manufacturers recommend replacing bottles every 3–6 months, depending on usage frequency. Pacifiers should be swapped out every 1–2 months, or sooner if you spot tears, stickiness, or discoloration. Testers consistently report that worn nipples can weaken and split during feeding. For your sterilizer, replace seals and baskets every 6 months to maintain steam efficiency; warped or cracked parts won’t seal properly. High-usage households-say, sterilizing 5+ times weekly-should replace components sooner. Regular inspection keeps everything working safely, without surprises.
On a final note
You’ve got this, and steam sterilizing makes it easier. Tested models like the Philips Avent Express (10-minute cycles, 6-bottle capacity) and Baby Brezza One-Step (compact, 3.5″ interior) deliver quick, reliable results. Just follow water level lines, don’t overcrowd, and descale monthly. Real parents confirm: consistent use cuts germs without harsh chemicals. Replace worn racks and inspect seals every 6 months. It’s practical, science-backed protection-no guesswork, just clean bottles and peace of mind.